
Tie dye is everywhere right now, and for some of it you pay a premium too. I decided to come up with my own tie dye ideas! Not sure if this was a smart idea or completely crazy idea on my part, but nonetheless we did it! Be sure to block out a couple of hours if you choose to try tie dying your own items anytime soon! My daughter is 6 and LOVED this activity. She stuck with me through the process. My son is 3 and lost interest fairly quickly.
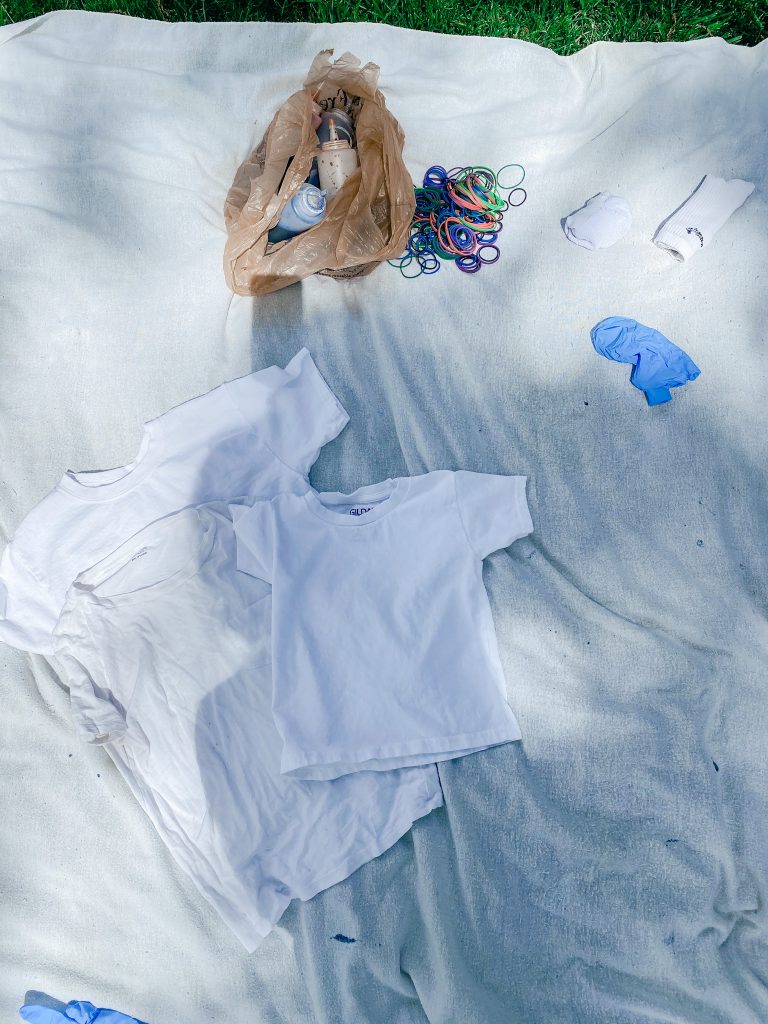
DIY Tie Dye Checklist
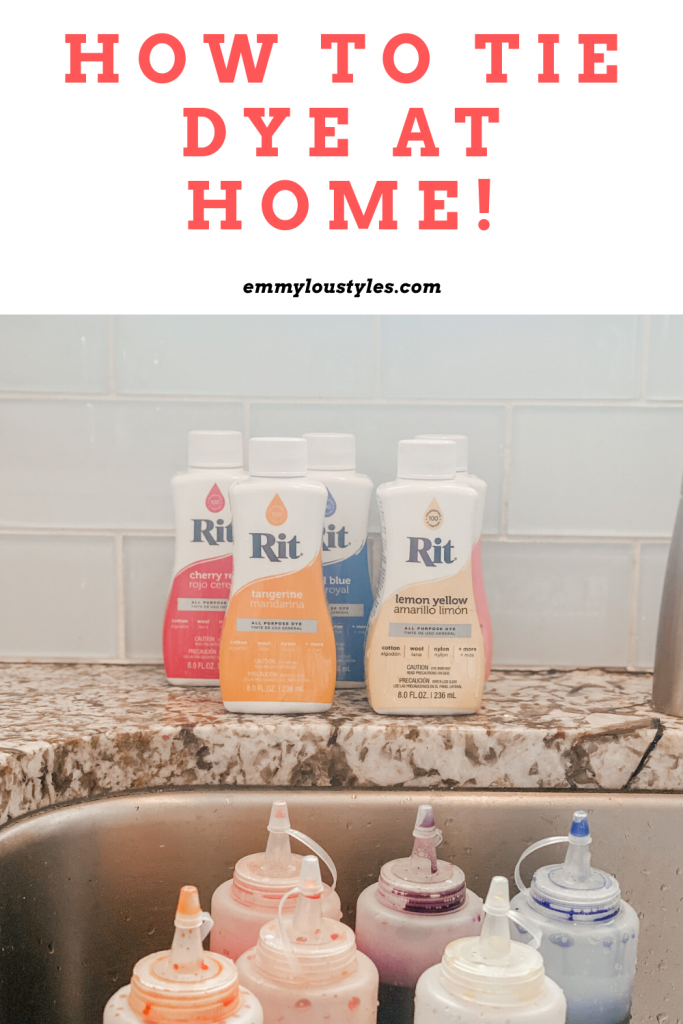
- RIT Dye
- RIT Color Stay Fixative (I failed to use this and our pieces turned out fine, however if you want to try and avoid color bleeding into white on projects try this).
- Disposable Gloves
- Rubber Bands
- Condiment Squeeze bottles (check your local $1 Store)
- Painting Tarp (or any old large blanket etc)
- Items you want to tie dye
- Saran wrap or plastic grocery bags


Side note: These squeeze bottles work for so many things! I use them for royal icing when making Christmas cookies!

Our set up. Large old blanket in the front yard.
What should I tie dye?
The obvious answer is a simple t-shirt. I grabbed the kids these plain white tees from Michael’s, but you could easily use any old white tee they already have. That’s what I did for the ones I made for myself and my husband. I had an old dingy Madewell pocket tee and used that (and I LOVE how it turned out)! We now have matching patriotic tie dye tees for the whole fam! Perfect for Memorial Day weekend!

Take a white bath towel and make a fun beach towel for summer!
With summer right around the corner, I thought it would be fun to let the kids each make a beach towel. I grabbed these $4 white bath towels from Target. By far, the beach towels are my FAVE! I made one for myself too! Keep scrolling to see how the towels turned out! I particularly like the swirl ones. Those were a huge gamble on my part, but they turned out great!
We also dyed some old white socks. We actually started out with the socks which was a good idea for testing things out and getting acquainted with the process.
Simple Tie Dye Techniques
I watched a few You Tube videos before taking the leap and tie dying our own items. I quickly learned about two simple techniques. Before starting, make sure to dampen all of your items slightly with water. I just used a spray bottle and spritzed all pieces a bit before beginning.
The Swirl
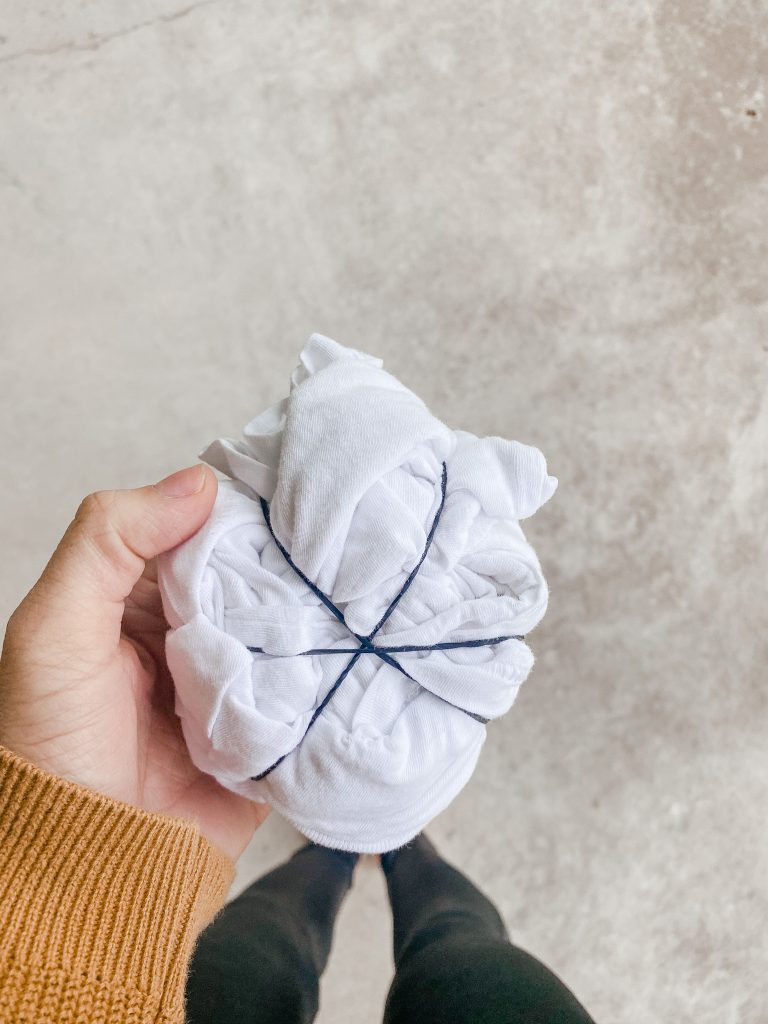
This is perhaps the most iconic tie dye technique. It’s the one you see on most tie dye pieces. The dye sort of starts in the center and then seemingly swirls outward. We used this method on a couple of beach towels and all of our t-shirts. You simply lay your item on a flat surface and find the center of the item. Pull up on the center of the item and begin to twist.

Once you have your item twisted begin to place rubber bands around the item making sure your rubber bands all cross/intersect on top of each other in the middle. If you’re doing the swirl technique on a beach towel it will feel bulky and weird, but I promise you it’s worth it! On the t-shirts we did, we used three rubber bands with this technique and on the towels we used four. It will sort of resemble a flower as shown below.
The Stripes
The stripes technique feels less weird when doing it, but the outcome isn’t as exciting as the swirl (at least in my opinion). We did this technique on one beach towel and it did turn out fun, but I prefer the swirl 🙂 You can get a good idea of how to do this technique from the video below. You simply roll the item (vertically) you’re tie dying and place rubber bands a few inches apart from each other.
What do I do after applying the dye?
Once you’ve completed squeezing dye onto all of the items wrap each item individually using saran wrap or a plastic grocery bag. Each item should sit in a safe place (i.e. don’t leave outside if it’s going to rain soon) for at least 6-8 hours. I let all of our projects sit overnight.

In the morning, begin to unwrap each item removing all rubber bands and plastic wrap. Rinse each item with cool water in the sink (if you have a utility sink, it’s probably best to use it if you’re tie dying larger items like towels). Continue rinsing and squeezing out the water until it becomes mostly clear. Throw in the washing machine by itself on cold water. Then dry the item on medium heat. VOILA! Now you’re ready to enjoy your items! Here are a few of our pieces!
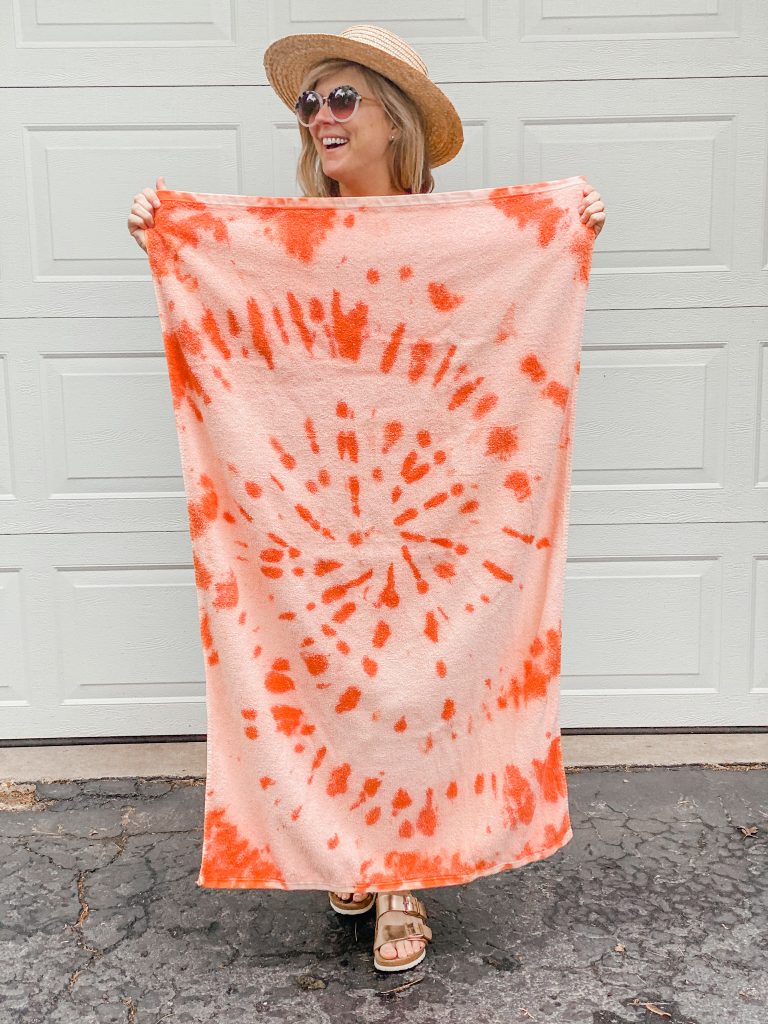
My orange swirl beach towel! L O V E!

Layla’s swirl t- shirt!

Hen’s striped beach towel!
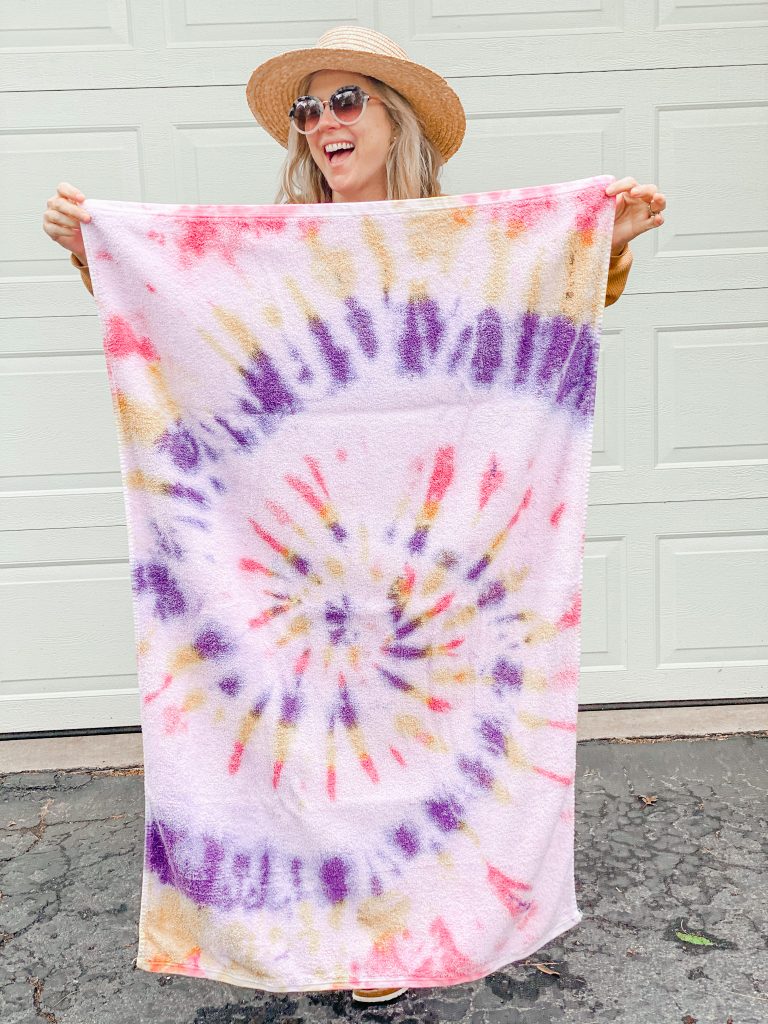
Layla’s swirl beach towel! She used purple, yellow and pink!
Want more posts like this? Sign up for my weekly email newsletter and receive these posts and more right to your inbox!
If you aren’t in the mood to tie dye your own stuff, check out my post with the latest tie dye finds on Amazon!
This post may contain affiliate links, which means I receive a commission if you choose to purchase through links I provide (at no extra cost to you). As an Amazon Associate I earn from qualifying purchases.


3 Comments
I love this. Looks like you two had a great time! Most of my bath towels are white, so this is a great alternative to using them as rags or throwing them away. Excited to do this soon! Thanks for sharing!
Thanks friend! I’m excited to see what you create! Have fun! Maybe Tom can do the tutorial when you guys do it! 😉
Comments are closed.